Running Local AI with Ollama - Spring AI Series Part 1
Run AI models locally with Ollama and integrate them into Spring Boot using Spring AI.
Audio controls for Running Local AI with Ollama - Spring AI Series Part 1
Listen to this article
Running Local AI with Ollama and Spring AI
AI development doesn't always require a cloud API. We can run AI models locally on our own machine and build applications around them.
In this hands-on guide, we'll start by running a local AI model with Ollama, then call it through its REST API, and finally integrate it with Spring Boot and Spring AI.
By the end, we'll have a Spring Boot application communicating with a locally running AI model.
What is Ollama?
Ollama allows us to download, manage and run AI models locally.
It's important to understand that Ollama is not the AI model itself. Ollama provides the runtime that allows us to work with models such as Qwen3.
Let's get started.
Download and install Ollama
Download Ollama from the official download page and install it.
After installation, verify that Ollama is available:
ollama --versionWe can also check whether the Ollama server is running:
ollama listOn a fresh installation, you may see:
NAME ID SIZE MODIFIEDwith no models listed.
That's because Ollama is installed, but we haven't downloaded a model yet.
Download your first model
Ollama provides a large collection of models.
For a machine with 16 GB RAM, Qwen3 0.6B is a good lightweight model for experimentation.
Download it with:
ollama pull qwen3:0.6bOnce the download completes, we can run the model.
Talk to the AI
Run:
ollama run qwen3:0.6bOllama starts the model and opens an interactive session where you can enter prompts.
For example:
Explain what a Java interface is.You should now receive a response from the locally running model.
We've just run our first AI model locally.
Verify the model
Exit the interactive Qwen session using Ctrl + D and run:
ollama listYou should see something similar to:
NAME          ID              SIZE      MODIFIED
qwen3:0.6b    7df6b6e09427    522 MB    14 hours ago
The exact values will depend on your environment.
Now try:
ollama psYou may see:
NAME ID SIZE PROCESSOR CONTEXT UNTILThis gives us an important distinction:
ollama list → What models do I have?
ollama ps   → What models are running right now?
Start the model again:
ollama run qwen3:0.6bThen run ollama ps from another terminal.
You may see something like:
NAME          ID              SIZE      PROCESSOR    CONTEXT    UNTIL
qwen3:0.6b    7df6b6e09427    956MB     100% CPU     4096       4 minutes from now
Notice that the running model size is larger than the downloaded model size.
This is normal. The model requires additional memory when it is loaded and running.
The important takeaway is that model size on disk and runtime memory usage are not necessarily the same.
Talk to Ollama through its REST API
So far, we've interacted with Ollama through the CLI:
You
 │
 │ ollama run qwen3:0.6b
 ▼
Ollama CLI
 │
 ▼
Qwen3 0.6B
Applications don't normally execute the CLI. Instead, they communicate with Ollama through its HTTP API.
Java / Spring Boot application
          │
          │ HTTP
          ▼
   Ollama REST API
          │
          ▼
      Qwen3 0.6B
Ollama exposes its API on:
http://localhost:11434Let's call the /api/generate endpoint.
Calling the Generate API
Send a POST request to:
http://localhost:11434/api/generatewith the following request body:
{
  "model": "qwen3:0.6b",
  "prompt": "Explain Java Virtual Machine in one sentence.",
  "stream": false
}
The important fields are:
model— the model we want to useprompt— the input sent to the modelstream— whether the response should be streamed
With stream: false, the response is returned as a single response.
Calling Ollama from Java
Before moving to Spring Boot, let's call the same API from a simple Java application.
Java's built-in HttpClient is enough for this:
public static void main(String[] args) throws IOException, InterruptedException {

    String json =
            """
            {
              "model": "qwen3:0.6b",
              "prompt": "What is Java? Answer in exactly 5 words.",
              "stream": false,
              "think": false
            }
            """;

    HttpClient client = HttpClient.newHttpClient();

    HttpRequest request = HttpRequest.newBuilder()
            .uri(URI.create("http://localhost:11434/api/generate"))
            .header("Content-Type", "application/json")
            .POST(HttpRequest.BodyPublishers.ofString(json))
            .build();

    HttpResponse<String> response =
            client.send(request, HttpResponse.BodyHandlers.ofString());

    System.out.println("HTTP Status: " + response.statusCode());
    System.out.println("Response:");
    System.out.println(response.body());
}
Running this application sends the request directly to Ollama and prints the response.
This gives us a simple Java → Ollama integration before introducing Spring AI.
Understanding the response
The response contains the generated text along with useful execution information.
For example:
model                : qwen3:0.6b
created_at           : 2026-08-19T15:40:45.6592598Z
response             : The Java Virtual Machine (JVM) is a platform-independent
                       runtime environment that executes Java bytecode...
thinking             : ...
done                 : True
done_reason          : stop
context              : {151644, 872, 198, 840...}
total_duration       : 245196795700
load_duration        : 445681100
prompt_eval_count    : 19
prompt_eval_duration : 301815000
eval_count           : 1500
eval_duration        : 244430927000
Some of the useful fields are:
| Field | Description |
|---|---|
prompt_eval_count | Number of input tokens processed |
eval_count | Number of output tokens generated |
load_duration | Time spent loading the model |
prompt_eval_duration | Time spent processing the prompt |
eval_duration | Time spent generating tokens |
total_duration | Total execution time |
These values become particularly useful when investigating AI application performance.
Comparing Ollama responses
Let's run two requests against a larger model (qwen3:4b) to see how response length can affect execution time. Please note that execution time can be much higher with larger model if they are run on CPU only.
Request 1
{
  "model": "qwen3:4b",
  "prompt": "What is a Java interface?",
  "stream": false
}
Request 2
{
  "model": "qwen3:4b",
  "prompt": "Reply with exactly three words.",
  "stream": false
}
In my experiment, the results were approximately:
| Java interface | Three words | |
|---|---|---|
| Total time | ~584 sec | ~40 sec |
| Model load | ~5.4 sec | ~7.2 sec |
| Generated tokens | 2,510 | 210 |
| Generation time | ~578 sec | ~32 sec |
The difference is significant.
The first request generated substantially more tokens, and most of its execution time was spent generating those tokens.
This gives us a useful observation:
The more tokens a model generates, the longer the response can take.
This is particularly noticeable when running larger models locally on CPU.
Customising the response
Qwen3 also supports controlling its thinking behaviour.
We can disable thinking by passing:
{
  "model": "qwen3:4b",
  "prompt": "What is a Java interface?",
  "stream": false,
  "think": false
}
In the experiment, this reduced the execution time considerably:
total_duration      ≈ 348.3 seconds
load_duration       ≈   1.6 seconds
eval_count          = 1615 tokens
eval_duration       ≈ 346.5 seconds
The response time went from approximately 9 minutes 43 seconds to 5 minutes 48 seconds.
So think: false helped considerably, although the response was still slow on the hardware used for the experiment.
Integrating Ollama with Spring AI
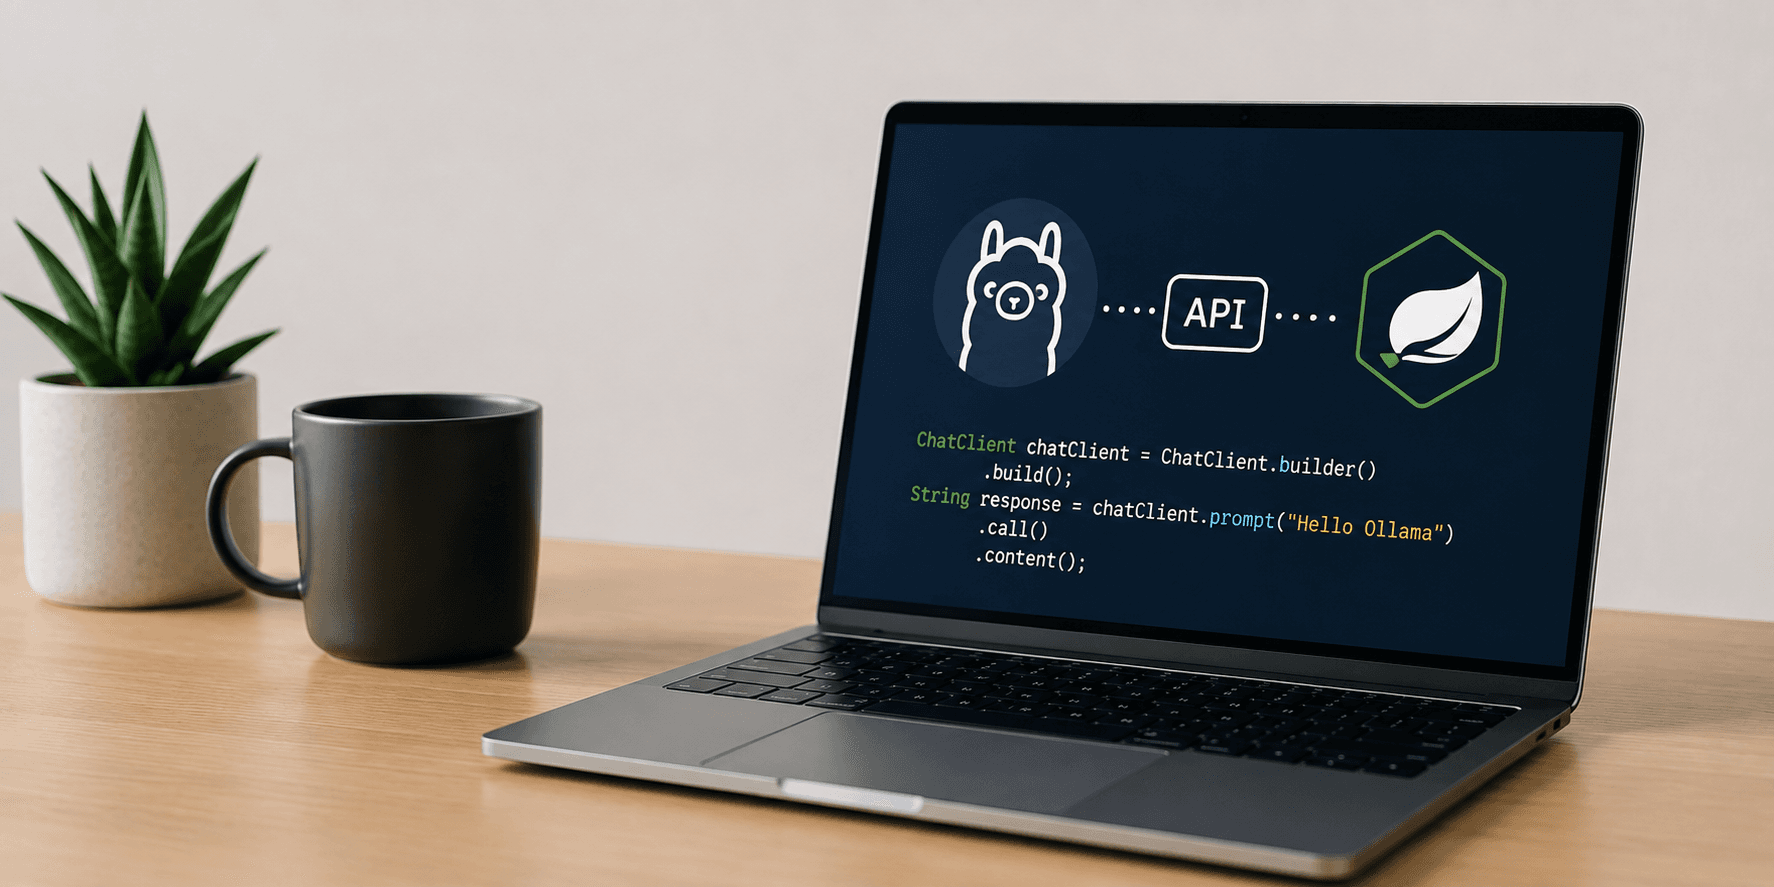
We've established the basic Ollama architecture. Instead of calling the REST API directly from our Java application, we can use Spring AI, which provides a higher-level abstraction for interacting with Ollama and other AI models.
Let's create a simple Spring Boot application.
Create a Spring Boot project
Create a Spring Boot Maven project named:
ollama-spring-ai-pocAdd the following dependencies:
- Spring Web
- Spring Boot DevTools
- Spring AI Ollama
Configure application.yaml:
spring:
  application:
    name: ollama-spring-ai-poc

  ai:
    ollama:
      base-url: http://localhost:11434
      chat:
        options:
          model: qwen3:0.6b
The important configuration is:
base-url: http://localhost:11434which points Spring AI to our local Ollama server.
Create the first AI endpoint
Let's expose a simple REST endpoint:
@RestController
public class ChatController {

    private final ChatClient chatClient;

    public ChatController(ChatClient.Builder chatClientBuilder) {
        this.chatClient = chatClientBuilder.build();
    }

    @GetMapping("/chat")
    public String chat(@RequestParam String message) {
        return chatClient.prompt(message)
                .call()
                .content();
    }
}
Start the application and call:
http://localhost:8080/chat?message=What%20is%20Java%20Virtual%20Machine?The request now travels through Spring AI to our locally running Ollama model.
We now have a Spring Boot application communicating with a local AI model.
ChatClient
ChatClient is a high-level API for communicating with an AI model.
Our application works with ChatClient rather than directly dealing with Ollama's REST API.
chatClient.prompt(message)
        .call()
        .content();
The three methods have straightforward responsibilities:
prompt()— defines what we want to sendcall()— executes the model interactioncontent()— extracts the generated text
Spring Boot automatically configures the ChatClient.Builder based on our Spring AI configuration.
One of the benefits of this abstraction is that the application isn't tightly coupled to a specific provider such as Ollama.
Set system behaviour and instructions
We can provide system instructions using system():
@GetMapping("/chat")
public String chat(@RequestParam String message) {

    return chatClient.prompt()
            .system("""
                    You are an expert Java software architect.
                    Always consider scalability, maintainability and security.
                    Prefer modern Java features.
                    Provide production-quality code.
                    """)
            .user(message)
            .call()
            .content();
}
Here:
system() → Defines the model's behaviour
user()   → Contains the user's request
This gives us much more control over how the model responds.
Get the response with ChatResponse
So far, we've only extracted the generated text using: .content().
We can also retrieve the complete ChatResponse:
ChatResponse response = chatClient.prompt()
        .system("""
                Answer very briefly.
                """)
        .user(message)
        .call()
        .chatResponse();
We can then access information from the response using methods such as:
response.getResult();
response.getMetadata();
This is useful when we need more information than just the generated text.
ChatModel
ChatClient provides a convenient high-level API, while ChatModel is a lower-level abstraction for interacting with the configured AI model.
For example:
@RestController
public class ChatController {

    private final ChatModel chatModel;

    public ChatController(ChatModel chatModel) {
        this.chatModel = chatModel;
    }

    @GetMapping("/chat-model")
    public String chatModel(@RequestParam("message") String message) {

        Prompt prompt = new Prompt(
                new UserMessage(message)
        );

        ChatResponse response = chatModel.call(prompt);

        return response.getResult()
                .getOutput()
                .getText();
    }
}
The relationship can be visualised as:
                ChatClient
                    │
                    ▼
                ChatModel
                    │
          ┌─────────┼─────────┐
          │         │         │
       Ollama     OpenAI   Anthropic
ChatClient ultimately delegates the model interaction to the configured ChatModel.
This abstraction allows Spring AI to work with different AI providers without requiring application code to be tightly coupled to each provider's API.
ChatOptions
Model behaviour can also be controlled using ChatOptions.
For example:
@GetMapping("/chat-with-options")
public String chatWithOptions(@RequestParam String message) {

    return chatClient.prompt()
            .user(message)
            .options(ChatOptions.builder()
                    .temperature(1.0))
            .call()
            .content();
}
Some commonly used options include:
| Option | Purpose |
|---|---|
temperature | Controls randomness |
maxTokens | Limits generated output |
model | Selects the model |
topP | Controls probability sampling |
topK | Controls candidate selection for supported models |
Generally:
temperature = 0 → More deterministic
temperature = 1 → More randomness
The exact behaviour can vary between models.
Conclusion
We've gone from running Qwen3 locally with Ollama to integrating it into a Spring Boot application using Spring AI.
The source code for this article is available in the following GitHub repository path: ollama-spring-ai-poc
In the next article, we'll build on this foundation and explore prompt engineering and structured output with Spring AI.
Did you find this article useful?